Getting Started with Webforms on OpenText Content Server
Welcome to this getting started guide on creating and configuring webforms on OpenText Content Server using Module Suite by AnswerModules. This guide is designed to provide you with a simple and clear understanding of how to create a custom webform and configure it to suit your needs.
Prerequisites
Before you dive into this guide, please make sure you meet the following prerequisites:
- You have access to an OpenText Content Server instance with a recent version of Module Suite (>= 3.3) installed and properly configured.
- You are familiar with the basics of creating objects on Content Server.
-
You understand the following objects and how they work:
- "Form Template"
- Form Template
- View ("HTML," "WR Power View")
- "Form"
Once you have a good grasp of these concepts, you're ready to start creating and configuring webforms on Content Server.
Using Content Scripts for Automation
In each step of this guide, we will provide a simple Content Script that can be used to automate the action of that step. These scripts can be used as-is or adapted to the module you wish to build.
Modifying step scripts
If you decide to make changes to a step's script, it is your responsibility to update the scripts of subsequent steps to ensure they work correctly.
For the purpose of this guide, we will assume that you have created a "Setup" script. To execute a step's script, replace the entire code of the "Setup" script with the contents of the step script before executing it for that particular step.
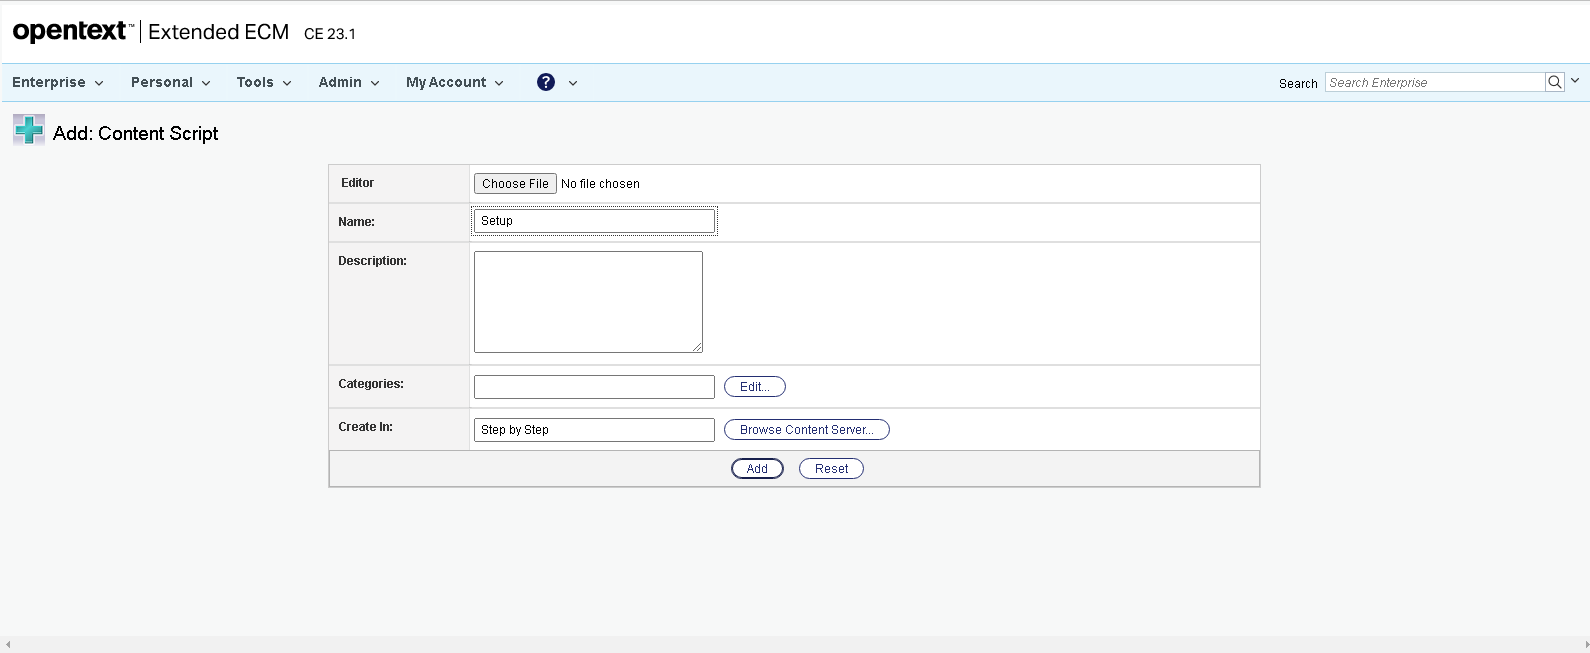
Create the Setup Script
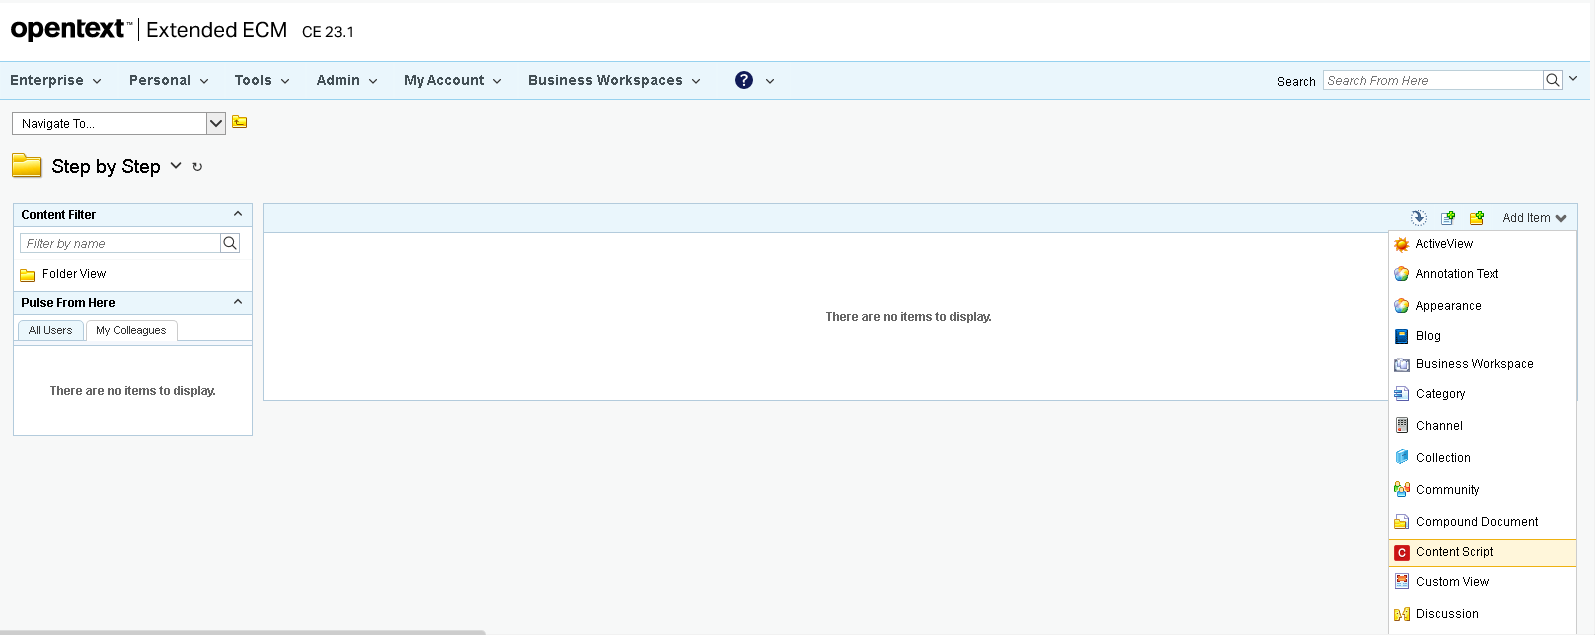
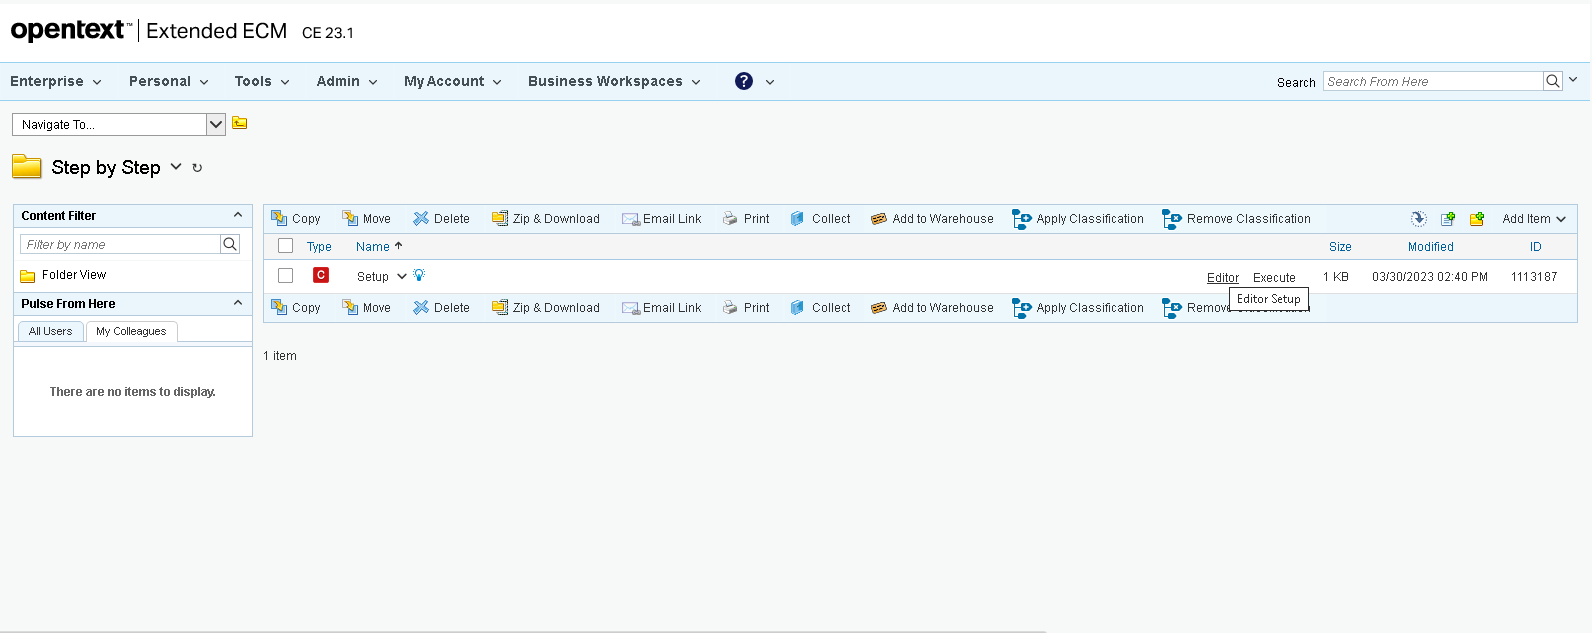
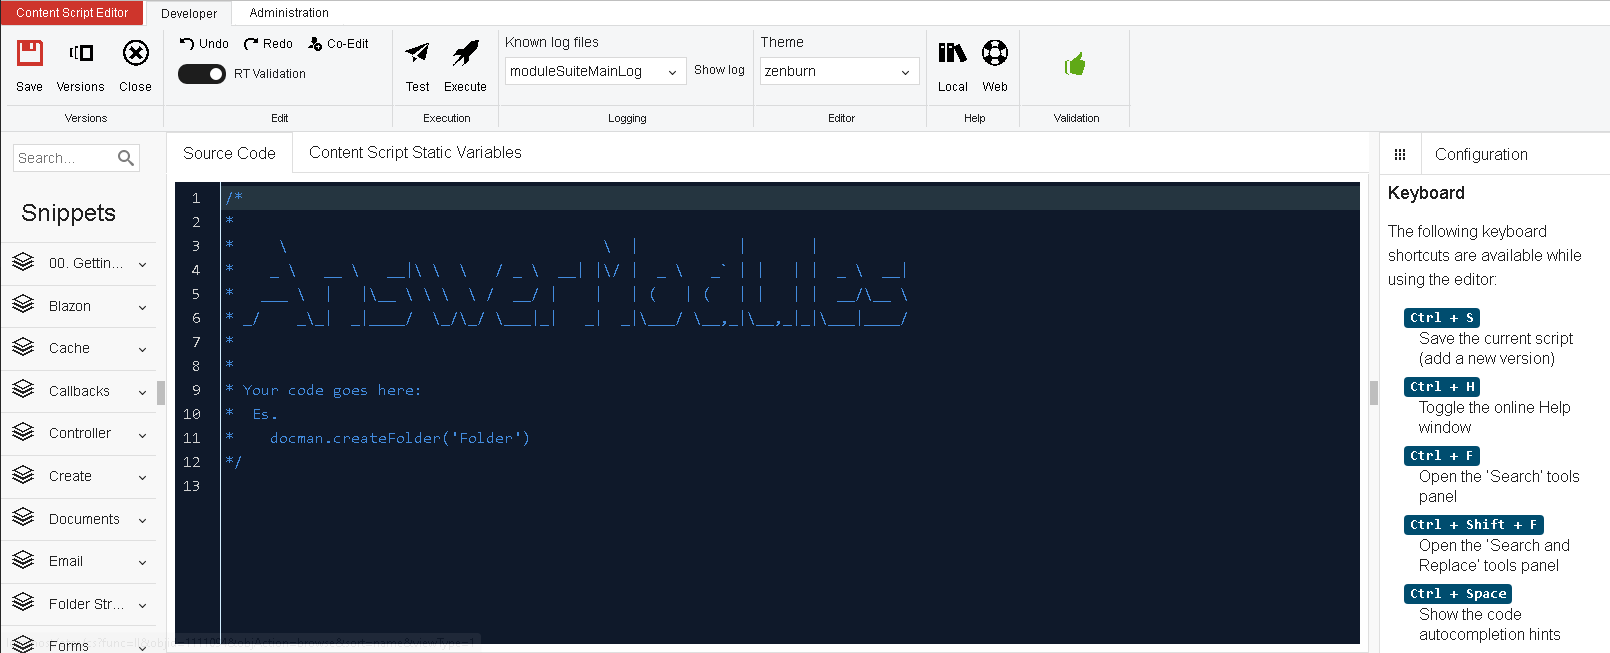
To create the "Seutp" Content Script object use the "Add Items" menu, then open the Content Script Editor through the object's "Edit" action, copy the code for the given step and paste it into the editor. Save the script using the "Save" menu and "Execute" the script using the "Execut" menu.
Step 1: Access Content Server and Organize Your Application Space
To begin, access the Content Server as a power user using the classic user interface. Navigate to the space where you want to create the WebForm.
Use a standardized approach
We highly recommend organizing your application space to make it easier to identify its components. AnswerModules suggests adopting a folder structure like the one below:
Application Root Space
|   Application
└─── Forms
└─── Scripts
└─── Workflows
│   └─── Scripts
└─── Dashboards
parent = self.parent
res = docman.getTempResource("mainScript", "cs")
res.content.text = "//Use static variable to define an 'app' object\n//app = csvars.app"
docman.createScript(parent, "Application", res.content)
parent.createFolder("Forms")
parent.createFolder("Scripts")
parent.createFolder("Workflows").createFolder("Scripts")
parent.createFolder("Dashboards")


redirect parent.menu.open.url
Step 2: Create a Form Template Object
Use the "Add Items" menu to create a Form Template object. Choose a short yet meaningful name for your Form Template to make it easily identifiable.
Step 3: Configure the Form Template
You have three options for configuring your Form Template:
- Edit the form template and define the list of attributes your form should consist of. When working with Beautiful WebForm, we recommend using simple attribute types such as Text Input, Date, Text Multiline, and Integer Field. The way these attributes are displayed in the form will be determined by the View we'll create later, so there's no need to use anything other than simple attributes.
Choose attribute names carefully
The name of the attribute is not what will be shown in the Form. Keep the attribute names as short as possible, avoid using special characters, and try not to use anything that might be a reserved word in SQL. If you decide to store the form data in a database, you'll be grateful for these suggestions.