Upgrading Module Suite
This guide covers the step-by-step procedure to perform an upgrade of a Module Suite installation.
Check prerequisites
The guide assumes that the prerequisites to perform the upgrade operation are met. If that is not the case, please go back to the Upgrade overview.
Deploy the new Modules on the target system
During this phase, the updated Module binaries will be deployed on the target system. The steps to perform for the deployment are exactly the same as the ones covered during a clean installation. Depending on the target platform, refer to one of the following resources:
- if you are installing on a Windows environment: Deploy on Windows
- if you are installing on a Unix/Linux environment: Deploy on Unix/Linux
Perform the Module upgrade
This phase is roughly equivalent to the Module installation phase performed upon initial Module Suite installation. The difference is that the system will already include an older version of the Modules, which will have to be replaced.
In order to proceed with the upgrade of the modules, please follow these steps:
-
Start the Content Server services
-
Login as Administrator and access the Module administration panel
-
Access the Content Server Admin pages > Core System - Module Configuration > Upgrade Modules
-
From the available modules, select “AnswerModules Content Script x.y.z”
-
Follow the installation steps and restart Content Server when prompted.
-
Access the Content Server Admin pages > Core System - Module Configuration > Upgrade Modules
-
From the available modules, select “Answer Modules - Beautiful Web Forms x.y.z”
-
Follow the installation steps and restart Content Server when prompted.
-
Access the Content Server Admin pages > Core System - Module Configuration > Upgrade Modules
-
From the available modules, select “Answer Modules - Smart Pages x.y.z”
-
Follow the installation steps and restart Content Server when prompted.
-
At this point, the upgraded Modules have been installed in the Content Server system and have replaced the older versions.
Apply the available hotfixes
-
Stop Content Server
-
Apply relevant hot fixes
-
Start Content Server
Activate the software
-
Activate the software by applying the new software activation key. Depending on the format in which the key was provided, you can use one of the following approaches:
-
If you plan to apply the license key manually, please proceed to Activation through manual key setup.
- Alternatively, if you plan to import the licensing configuration settings, please proceed to the Activation through key import.
Upgrading from Versions Below 3.2
Critical Upgrade Step
If you are upgrading from a version below 3.2, it is crucial to perform the following step before importing the new libraries:
Rename CSSystem to _CSSystem_ in the Content Script Volume.
Step-by-Step Renaming Process
-
Locate the Content Script Volume: Navigate to your Content Script Volume in the system.
-
Find the CSSystem: Identify the
CSSystemwithin the Content Script Volume. -
Perform the Rename: Change the name from
CSSystemtoCSystem. -
Verify the Change: Double-check that the rename operation was successful.
Update the Module Suite Configuration
Using the Content Script Volume Import Tool, check for the presence of updates or conflicts in the System library.
-
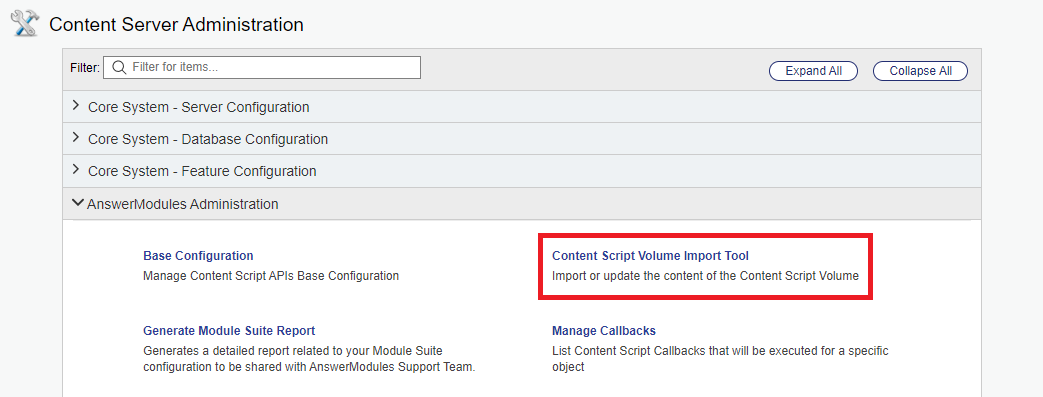
As the system Admin user, open the Content Server Administration pages.
-
Locate the AnswerModules Administration section. Within this section, open the Content Script Volume Import tool.
-
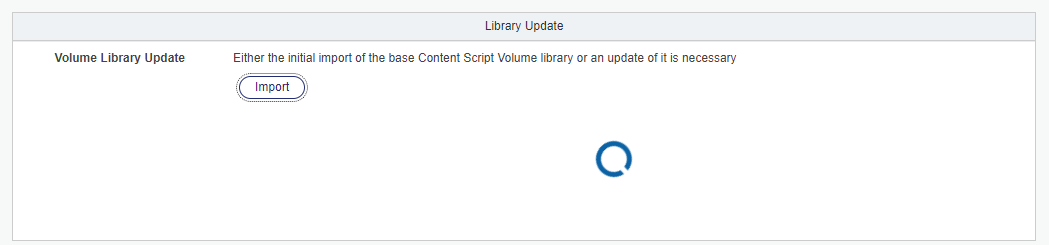
Within the Content Script Volume Import page, locate the Library Update section (it can be found at the very top of the page).
Click the Import button.

What if the Library Update section is not present?
The Library Update section at the top of the import tool will only show up if there are updates to be applied to the System libraries.
If none are present, this section will not be found and the step can be skipped.
-
Wait for the import operation to complete.
-
Once the operation is complete, a success message will be shown.

Upon refreshing the page, the Library Update section will no longer be visible. This indicates that all relevant libraries have been imported.
-
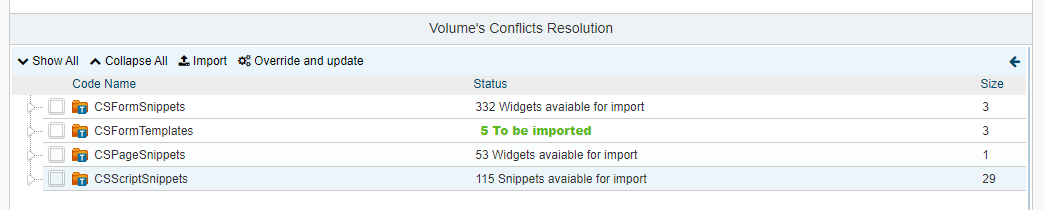
Within the Content Script Volume Import page, locate the Volume's Conflicts Resolution section. The section may take some time to process the status of the Volume. In this case, it will show as loading.

-
Check for any outstanding conflicts and optional updates and update as needed.
Refer to the Content Script Volume Import Tool for further details on conflicts and conflict resolution.
Custom changes to library components
In case any of the standard components were customized, patched or otherwise modified, or new custom components were added within the standard library, make sure that you transfer any relevant changes to the new libraries before deleting the old version.
What do I need to upgrade ?
How the library upgrade works
The 'Upgrade' operation will rename the existing library folders in the Content Script volume, and import a new version of the same (the only exception is the 'CSFormTemplates' folder, which will be discussed later). As such, any modification that has been applied to one of the libraries will be relocated and no longer available.
Examples include:
- any custom Beautiful WebForms components added to the CSFormSnippets folder
- any custom Rest API endpoints added to the CSServices folders
- any callbacks configured in the CSEvents or CSSynchEvents folders
- any Classic UI modifications applied through the CSMenu, CSAddItems, CSBrowseView, CSBrowseViewColumns
- any other object created or modified within one of the upgraded folders
As part of the upgrade operation, you should identify such changes and make sure they are ported to the new libraries.
CSFormTemplates have a slightly different upgrade process. Since objects in this folder are referenced by object DataID (their unique identifier on OTCS)they can't be replaced with the updated version, since this would potentially cause issues in any existing form using the template. For this reason, the upgrade process for CSFormTemplates automatically updates each single template by adding a new version to the object, thus preserving the original DataID. For this reason, no "backup" folder will be found for CSFormTemplates..
-
Cleanup. The folders named “Backup-_yyyyMMdd-AAAAAA” are backup folders containing the previously installed library scripts/snippets. They can be safely exported and removed