Module Suite installation guide: Install Modules
Overview
This guide covers the Installation phase that is part of the Module Suite installation guide.
-
Deployment - Installation
- Activation
- Configuration
- Post-installation patching
This phase covers the Content Server installation of the optional modules previously deployed on the system during the Deployment phase. The related operations will be performed using the Content Server standard administration tools.
Only perform after previous phases are complete
The guide assumes that the Module Deployment phase has already been completed on the target environment. If that is not the case, please go back to the Installation overview.
Step-by-step Installation
In order to proceed with the installation of the modules, please follow these steps:
-
Start the Content Server services
-
Login as Administrator and access the Module administration panel
-
Access the Content Server Admin pages > Core System - Module Configuration > Install Modules
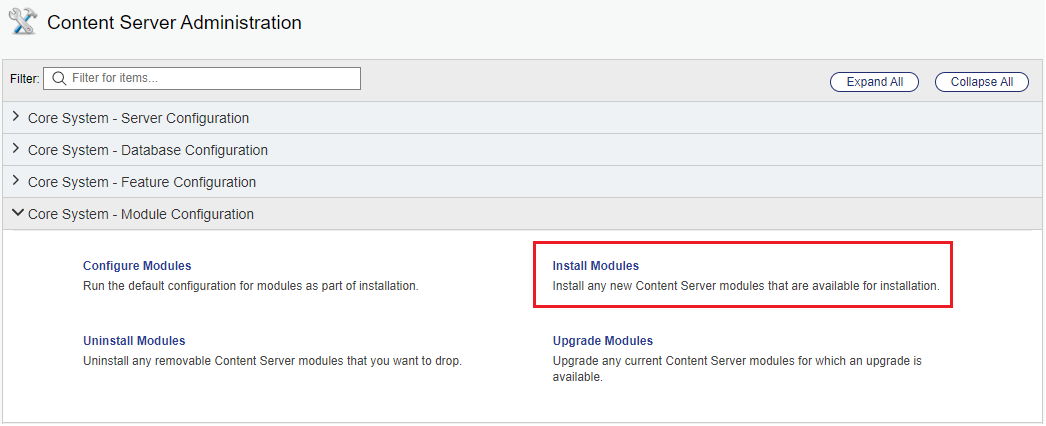
-
From the available modules, select “AnswerModules Content Script x.y.z”
-
Follow the installation steps and restart Content Server when prompted.
-
From the Administration Home, access the Module administration panel
-
Select “Install Modules”
-
From the available modules, select “Answer Modules - Beautiful Web Forms x.y.z”
-
Follow the installation steps and restart Content Server when prompted.
-
From the Administration Home, access the Module administration panel
-
Select “Install Modules”
-
From the available modules, select “Answer Modules - Smart Pages x.y.z”
-
Follow the installation steps and restart Content Server when prompted.
-
At this point, the Modules have been installed in the Content Server system.
Apply the available hotfixes
-
Stop Content Server
-
Apply relevant hot fixes
-
Start Content Server
Next Steps
- If you plan to apply the license key manually, please proceed to Activation through manual key setup.
- Alternatively, if you plan to import the licensing configuration settings, please proceed to the Activation through key import.