Installing Beautiful WebForms
Installation procedure (Windows)
We will refer to the Content Server installation directory as %OTCS_HOME%
-
Deploy Content Server Modules
-
Stop the Content Server
-
Run the Module Suite Master Installer and install the Beautiful WebForms module.
Step-by-step procedure
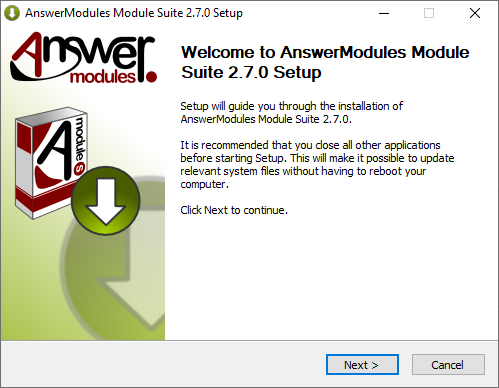
The following screens will guide you through the deployment of Module Suite modules.
- Welcome Screen: Select “Next” when ready to start the installation.
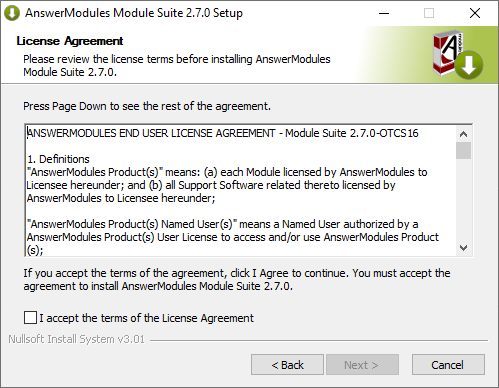
- EULA Screen: Acceptance of the end-user license agreement is mandatory for proceeding with the installation
A copy of the agreement will be available, upon installation, in:
%OTCS_HOME%/module/amcontentscript_X_Y_Z/license/EULA
Select “Next” when ready.
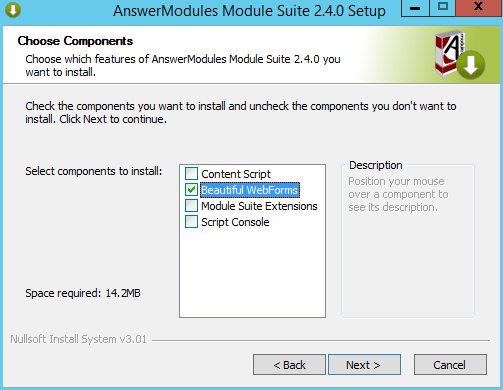
- Components selection: Script console is unselected by default because it is not a Content Server module. A standard Module Suite installation does not require this component to be installed.
Select “Next” when ready.
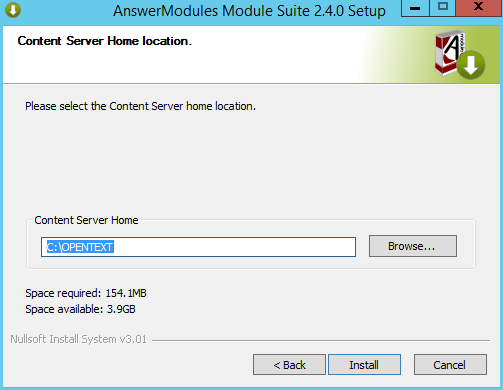
- OTHOME selection: The installer will prompt you for the location where Content Server is installed. Browse to your OTCS_HOME and select “Next” when ready to start the installation.
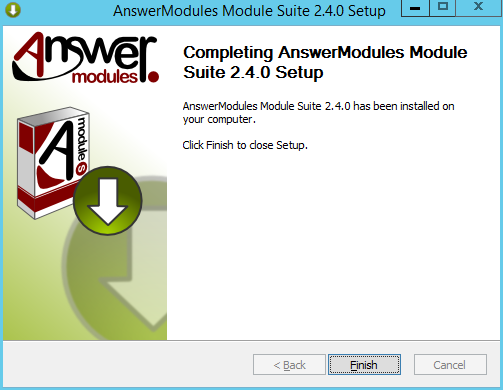
- Installation completed: Select “Finish” and return to the installation checklist to finalize the module setup.
-
Install Content Server Modules
-
Start the Content Server
-
Login as Administrator and access the Module administration panel
-
Select “Install Modules”
-
From the available modules, select “Answer Modules - Beautiful Web Forms X.Y.Z”
-
Follow the installation steps and stop Content Server when prompted.
Installation complete
The Beautiful WebForms initial setup is complete