Module Suite Extension for SmartUI
Prerequisites
This guides assumes the following components to be already installed and configured:
- AnswerModules ModuleSuite
We will refer to the Content Server installation directory as OTCS_HOME
Installation procedure
The Module Suite SmartUI Extension includes the following parts:
- AnswerModules Module Suite extension for Smart UI Content Server module
- SmartUI Extension library objects to be imported in the Content Script Volume
Installing the Module Suite extension for SmartUI
Run the Module Suite SmartUI installer:
module-anscontentsmartui-X.Y.Z-OTCS16.exe
Follow the installation wizard steps:
-
Select "Next" when ready to start the installation.

-
The installer will prompt you for the location where Content Server is installed. Browse to your OTCS_HOME and select "Next".

-
Review the installation steps for each component to be installed.

-
Click "Finish" to complete the unpacking of the module

Staging
At this point, the Module has been deployed in the Content Server Staging folder and is available for module install through the Content Server administration pages.
-
Access the Content Server Admin pages > Core System - Module Configuration > Install Modules
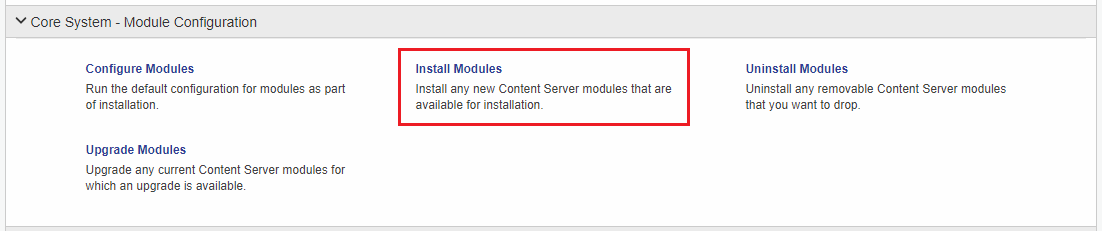
-
Locate the AnswerModules Module Suite extension for Smart UI module and proceed with installation
-
Restart the OTCS services when prompted in order for the installation to be completed.
Deploying Beautiful WebForms static resources
SmartUI extension includes a set of static resources (javascript libraries, css, etc.) required to enable embedding of Beautiful WebForms within SmartUI perspectives. In order to deploy these resources, perform the following steps:
- On the server filesystem, navigate to the anscontentsmartui module support folder, and locate the folder named ansbwebform
OTCS_HOME\support\anscontentsmartui\ansbwebform
- Copy the contents of the ansbwebform folder identified above to the Beautiful WebForms module support folder:
OTCS_HOME\support\ansbwebform
Merging
The two paths contain a similar folder structure, which will be merged to add SmartUI specific files to the Beautiful WebForms support folder
Importing the SmartUI Extension library objects
In order to import the SmartUI Extension library, perform the following steps.
Only once
This procedure imports objects within the Content Script Volume. In case of clustered environment, it is only necessary to perform this operation once, as the volume is shared between all instances.
-
On the server filesystem, navigate to the location of the AnswerModules Module Suite extension for Smart UI module and open the library folder
OTCS_HOME\module\anscontentsmartui_X_Y_Z\library
-
Copy the smartui extension.lib file to the same location within the Content Script module
OTCS_HOME\module\anscontentscript_X_Y_Z\library
-
In a browser, open the Content Server Admin pages > AnswerModules Administration > Base Configuration
Check the URL
If you are in a clustered environment, make sure you are accessing the right server (the one on which you performed the steps above).
-
Open the Import tool to import the content of the SmartUI Extension library. For details on how to use the Import tool, check the dedicated guide.
-
Copy the Smart View's Beautiful WebForms widgets from the SmartUI Extension library into their standard location in the Content Script Volume
Content Script Volume:SmartUI Extension:CSFormSnippets:V2:* -> Content Script Volume:CSFormSnippets:V2
Content Script Volume:SmartUI Extension:CSFormSnippets:V3:* -> Content Script Volume:CSFormSnippets:V3
-
Copy the Smart View's Content Script snippets from the SmartUI Extension library into their standard location in the Content Script Volume
Content Script Volume:SmartUI Extension:CSScriptSnippets:* -> Content Script Volume:CSScriptSnippets