Installing Extension Packages
Installation procedure
We will refer to the Content Server installation directory as %OTCS_HOME%
- Run the Module Suite Content Script Master Installer and install the desired extension packages.
Step-by-step procedure
The following screens will guide you through the Content Script Module Master Installer steps required to install optional extension packages:
- Welcome Screen: Select “Next” when ready to start the installation.
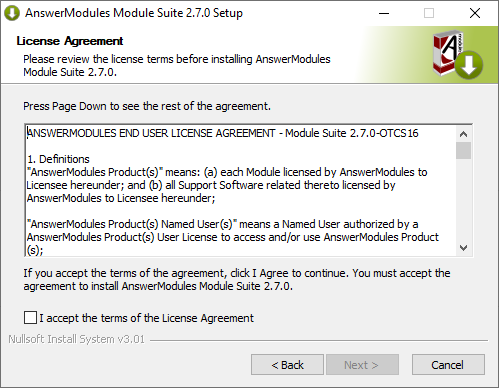
- EULA Screen: Acceptance of the end-user license agreement is mandatory to proceed with the installation
A copy of the agreement will be available, upon installation, in:
%OTCS_HOME%/module/amcontentscript_X_Y_Z/license/EULA Accepting the End User Agreement is mandatory to proceed with the installation.
Select “Next” when ready.
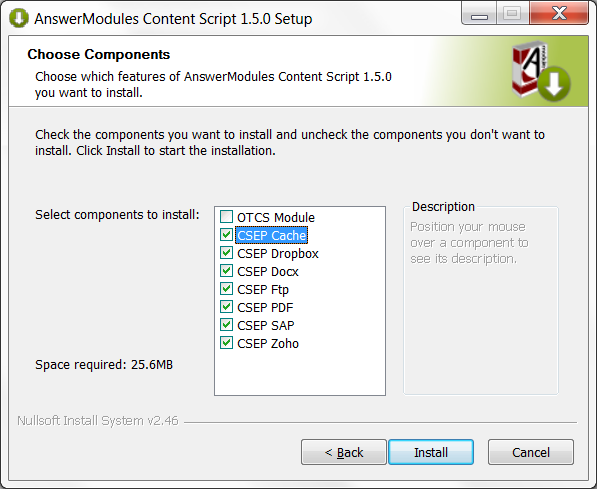
- Components selection:Unselect the OTCS Module component. Select all of the extension components that are to be installed
Select “Install” when ready.
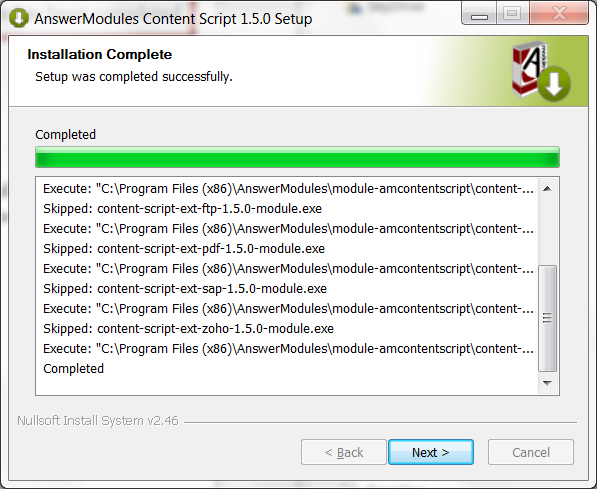
- Installation: The extension packages are automatically installed.
Select “Next” when the procedure is complete.
Configure the Extension Packages
If you are installing extension packages on an already installed and properly configured Module Suite instance you have to update the module's Base Configuration following the procedure below:
-
Stop and Start Content Server service to let the system load the newly installed Extension Packages
-
Login as Administrator and access the Module administration panel
-
From the Administration Home, select AnswerModules Administration > Base Configuration
-
If necessary, change the core configuration or the configuration of the extension modules.
-
Save the Base Configuration (even in case no changes were applied) and restart Content Server
In order for any change in the base configuration to become effective, a restart of Content Server is required
Rendition Extension Package
What is it?
The rendition extension package allows you to programmatically invoke a third party rendition engine to convert documents from one format to another, the most common use case is to convert HTML documents to PDF documents. Using the rendition extension package, you will be able to convert documents in real time and without interrupting the script execution flow.
The installation procedure for the rendition extension package isn't different from any other extension package, although it requires a couple of additional steps to be completed.
Install the third party rendition engine
The CS Rendition Extension package only provides the API to interface with a third party engine capable of converting documents.
This software is distributed separately by the third party and has to installed separately.
Although potentially compatible with different engines, the rendition extension package is pre-configured and tested to use on of the following options:
-
an open source engine named wkhtmltopdf
-
an open engine AnswerModules R&D Team derived from the open source project Puppeteer named rend
The installation and configuration of the two above mentioned solutions is pretty similar.
wkhtmltopdf
Installation
- Follow the software developers instructions to perform the installation on each server in the OTCS cluster on which the extension is needed.
-
Upon a successful installation, the main executable has to be made available to the Content Script Extension Package as a dropin.
To do so:
- locate the wkhtmltopdf installation path
- locate the wkhtmltopdf.exe executable in the folder
- copy the wkhtmltopdf.exe in the CS Rendition Extension package dropin folder, located in:
<OTCS_HOME>/module/anscontentscript_x_x_x/amlib/rend/dropin
Configuration
-
Configure the Rendition extension package in order to use the wkhtmltopdf executable in the Module Suite Base Configuration
Section rend
Configuration Property Configuration Property Value amcs.rend.html2pdf.dropin wkhtmltopdf amcs.rend.html2pdf.cmdline -B 10 -T 10 -L 5 -R 5 --viewport-size 1920x1080 ${source} --print-media-type --cookie ${cookie} --run-script "am_printFix()" ${destination} amcs.rend.html2pdf.timeout 60000 Configuration Property Configuration Proerty Meaning amcs.rend.html2pdf.dropin The relative path to the engine's executable. For security reasons, the root of this path is the extension package's dropin folder. amcs.rend.html2pdf.cmdline The template of the command line instruction to be used when performing rendition (**). A few replacement tags can be used in this command line template. (a) ${source} : represent the absolute path for the input resource you want to render. Its value is automatically injected by the rendition extension package. Since the rendition extension package works on Content Script Resources, you do not have to worry about file system housekeeping. (b) ${destination} :represent the absolute path for the output resource, the engine is going to generate. Its value is automatically injected by the rendition extension package. Since the rendition extension package works on Content Script Resources, you do not have to worry about file system housekeeping. c ${cookie} : represent a local authentication cookie amcs.rend.html2pdf.timeout the default maximum wait time, in milliseconds, after which a rendition attempt will be aborted.
(**)
Please refer to the third-party rendition engine's guide for a detailed explanation of all the available command line parameters
rend
Installation (Windows)
External conversion engine package is provided as a compressed archive rend-win.zip. The Archive contains following items:
- chromium – folder containing an up to date version of Chromium engine.
- rend – pre-built NodeJS application leveraging Puppeteer
To install it:
- Extract the conversion engine package in the following location:
<OTCS_HOME>/module/anscontentscript_x_x_x/amlib/rend/dropin
Installation (Unix)
External conversion engine package is provided as a compressed archive rend.tar.gz. The Archive contains following items:
- chromium – folder containing an up to date version of Chromium engine.
- rend – pre-built NodeJS application leveraging Puppeteer
- run_rend – a script that will be called by the Content Suite and will launch the application
To install it:
- Extract the conversion engine package in the following location:
Note: files inside dropin folder should belong to user that is used to run Content Server service. Thus you can either perform extraction under the OTCS service user or change ownership of the extracted files accordingly.
   <OTCS_HOME>/module/anscontentscript_x_x_x/amlib/rend/dropin

   e.g.
   >tar -C <OTHOME>/module/anscontentscript_x_y_0/amlib/rend/dropin -xvf rend.tar.gz
Configuration
-
Configure the Rendition extension package in order to use the rend executable in the Module Suite Base Configuration
Section rend
Windows
Configuration Property Configuration Property Value amcs.rend.html2pdf.dropin rend-win amcs.rend.html2pdf.cmdline "${source}" --cookie "${cookie}" -p "${destination}" --format A4 --marginBottom 100px --marginTop 120px --marginLeft 30px --marginRight 30px --scale 0.8 --viewport 1240x1754 amcs.rend.html2pdf.timeout 60000 Unix
Configuration Property Configuration Property Value amcs.rend.html2pdf.dropin run_rend amcs.rend.html2pdf.cmdline "${source}" --cookie "${cookie}" -p "${destination}" --format A4 --marginBottom 100px --marginTop 120px --marginLeft 30px --marginRight 30px --scale 0.8 --viewport 1240x1754 amcs.rend.html2pdf.timeout 60000 Configuration Property Configuration Proerty Meaning amcs.rend.html2pdf.dropin The relative path to the engine's executable. For security reasons, the root of this path is the extension package's dropin folder. amcs.rend.html2pdf.cmdline The template of the command line instruction to be used when performing rendition (**). A few replacement tags can be used in this command line template. (a) ${source} : represent the absolute path for the input resource you want to render. Its value is automatically injected by the rendition extension package. Since the rendition extension package works on Content Script Resources, you do not have to worry about file system housekeeping. (b) ${destination} :represent the absolute path for the output resource, the engine is going to generate. Its value is automatically injected by the rendition extension package. Since the rendition extension package works on Content Script Resources, you do not have to worry about file system housekeeping. c ${cookie} : represent a local authentication cookie amcs.rend.html2pdf.timeout the default maximum wait time, in milliseconds, after which a rendition attempt will be aborted. Dropin options
-“${source}” – replacement tag that will be substituted by the URL to the generated HTML Form. This argument is mandatory and not editable.
-ck, --cookie [cookie] – value will be replaced by replacement tag that corresponds to the current user’s session cookie. Should be in form “Name Value”. This argument is mandatory and not editable.
-p, --path \<path> – identifies target PDF file location. Value will be substituted by the replacement tag. This argument is mandatory and not editable.
-f, --format [format] – PDF option. Paper format. If set, takes priority over width or height options. Defaults to 'Letter'. Available options: Letter, Legal, Tabloid, Ledger, A[0-6].
-d – Debug is on. If specified debugging information is written to the log file. Use only for debugging purposes. Log file located in \<OTHOME>\logs\cs_rend.log or when running application manually in \<appDir>\log\cs_rend.log
-mb, --marginBottom [margin] - Bottom margin, accepts values labeled with units.
-mt, --marginTop [margin] - Top margin, accepts values labeled with units.
-mr, --marginRight [margin] - Right margin, accepts values labeled with units.
-ml, --marginLeft [margin] - Left margin, accepts values labeled with units.
-vp, --viewport [cookie] - PDF option. Set the viewport. Width and height of the page in pixels
-prt, --printmediatype - Use print media type. Boolean. Default: true.
-s, --scale [scale] - Scale of the webpage rendering.
-dhf, --displayHeaderFooter - Display header and footer. Boolean. Default: false.
-ht, --headerTemplate [template] - HTML template for the print header.
-ft, --footerTemplate [template] - HTML template for the print footer.
-pb, --printBackground - Print background graphics. Boolean. Default: true.
-pr, --pageRanges
- Paper ranges to print, e.g., '1-5, 8, 11-13'. Defaults to the empty string, which means print all pages. -w, --width [width] - Paper width, accepts values labeled with units.
-h, --height [height] - Paper height, accepts values labeled with units.
-wu, --waitUntil [choice] - WaitUntil accepts choices load, domcontentloaded, networkidle0, networkidle2. Defaults to 'networkidle2'.
For more detailed description of the option please refer to official Puppeteer documentation
Content Script Extension for SAP
What is it?
Content Script Extensions for SAP allows to integrate Content Script with the SAP™ ERP through RFCs (Remote Functions Calls).
The integration allows you to perform the following:
- connect to multiple SAP™ systems through JCo APIs;
- invoke standard and custom SAP™ functions for retrieving ERP's information;
- invoke standard and custom SAP functions for updating ERP's information;
SAP™ JCo Library Required
This extension package requires the SAP™ JCo library to be available in the extension repository <OTHOME>/module/anscontentscript_x_y_z/amlib/sap and is certified for use with SAP™ JCo version (3.0.6) when used on OpenText Extended ECM and version (3.0.10) when used on CSP. SAP™ JCo library can be downloaded from SAP™ website.
Extension setup
The Content ^Scripting extension for SAP is part of the Module Suite bundle but is not included in the main Module Suite installer. The extension package is provided on request by the AnswerModule support team, the reason why it is not included in the main intaller is because, if not configured correctly, it could cause problems with the installation of Module Suite.
Below is the step by step guide on how to install the Extensions for SAP. Note: For the general Module Suite and Module Suite Extensions Packages installation procedure please refer to "Installing the suite" section
Installing the Content Script Extension for SAP
Run the Content Script SAP Extension installer and follow the installation wizard steps:
-
Select "Next" when ready to start the installation.

-
Accept all the required license agreements
-
The installer will prompt you for the location of the installed Content Server. Browse to your OTCS_HOME and select "Next".
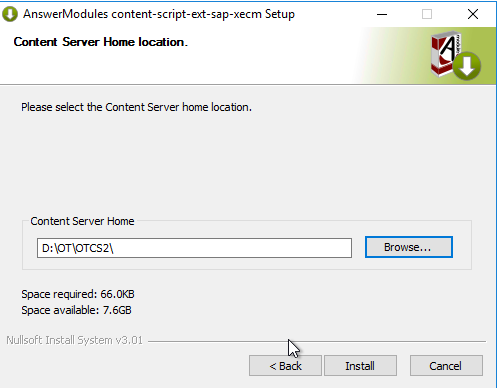
-
Click "Install" to start the installation
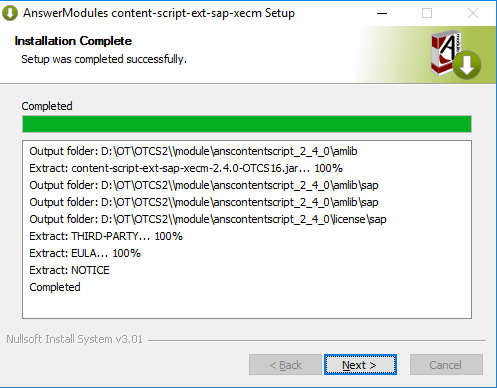
-
The installation of the required libraries will be performed
-
Deploy SSAP™ JCo in the extension package repository:
<OTCS_HOME>/module/anscontentscript_2_x_0/amlib/sap. The Content Script extension for SAP relies on SAP Java Connector (SAP JCo) to support outbound communication with the SAP Server. SAP JCo relies on a native bridge to implement the communication with the SAP server. This native bridge is implemented by the SAP JCo native library (sapJCo.dll). Both the SapJCo jar file and dll must be copied in the extension package repository.To deploy SapJCo library follow this simple procedure:
-
Stop Content Server service
-
Copy library files to the destination mentioned above
-
Start Content Server service
-
Deploy on clustered environment
In case of a clustered Content Server installation the above steps should be performed on every cluster node.
Installation validation
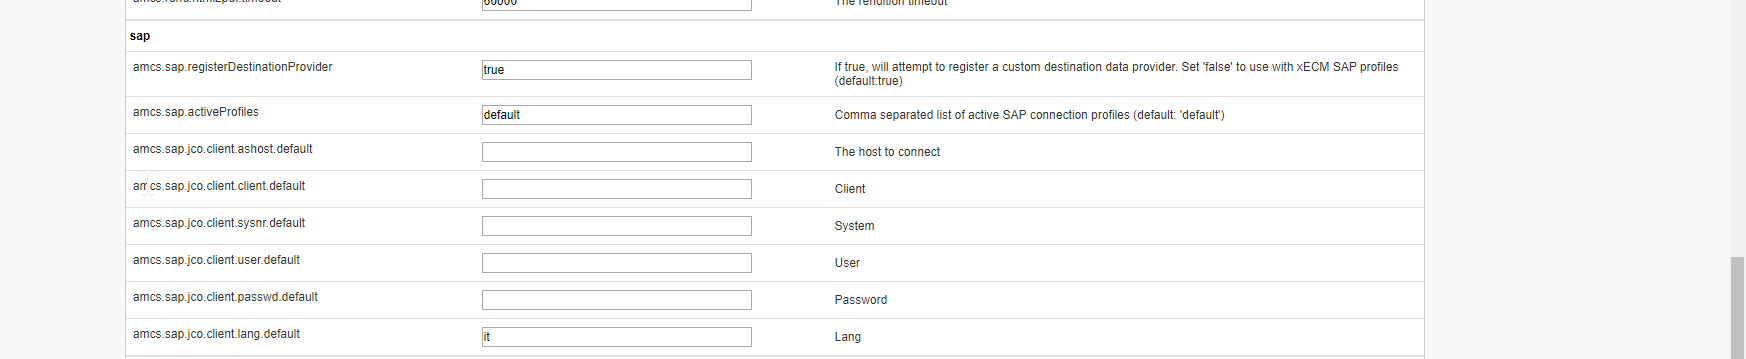
If the Content Script Extension for SAP has been successfully installed, a new configuration section should appear in the Base Configuration page:
Configuration options
List of available parameters specified below:
| Configuration Property | Configuration Property Meaning |
|---|---|
| amcs.sap.registerDestinationProvider | Determines whether the existing xECM connection or a custom connection should be used.When set to TRUE the custom destination data provider is used; when set to FALSE the existing configured SAP xECM connection is used. |
| amcs.sap.activeProfiles | List of the currently active and configured sap extension profiles. As many other extension packages Content Script Extension for SAP allows you to define multiple configuration profiles in order to manage multiple connections towards different systems. |
| amcs.sap.JCo.client.ashost.default | Target SAP System server hostname |
| amcs.sap.JCo.client.client.default | Target SAP System Client number |
| amcs.sap.JCo.client.sysnr.default | Target SAP System ID |
| amcs.sap.JCo.client.user.default | Target SAP System username to logon with |
| amcs.sap.JCo.client.passwd.default | Target SAP System password for the specified username |
| amcs.sap.JCo.client.lang.default | Language to use for the connection |
OpenText Activator
If you have not installed the "OpenText Activator for SAP Solutions" module on your system, you can only use the custom destinations. In this case it is necessary to install the SAP JCo version compatible with your environment.